TL;DR
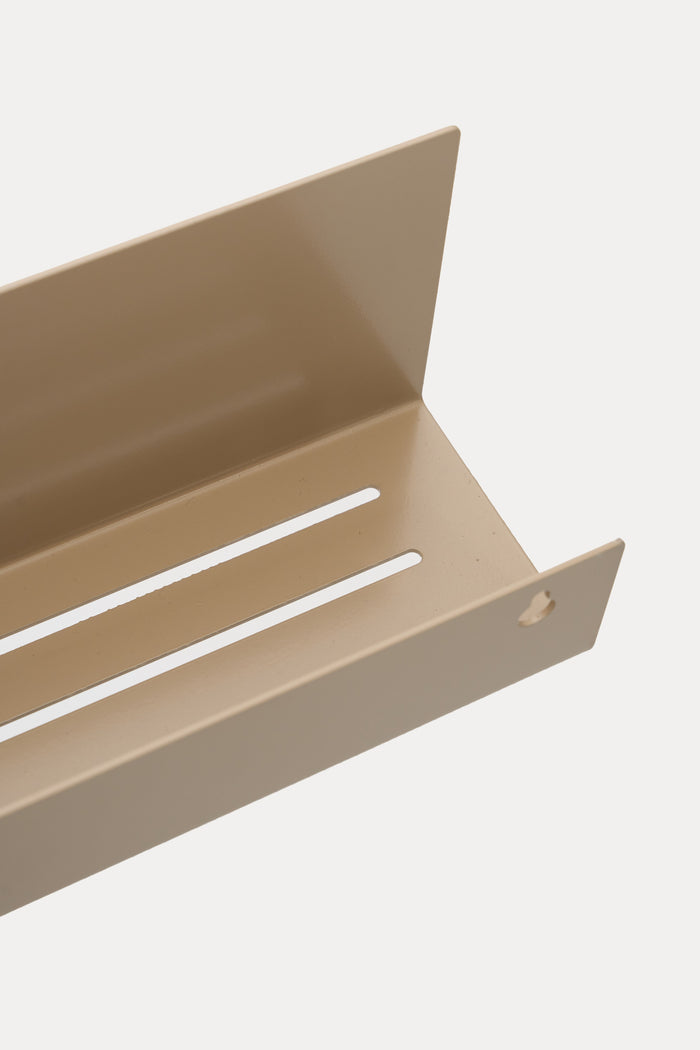
The METI Bathroom Shelf from ATYP is a screw-mounted steel shelf, built from 3mm cold-rolled steel and finished in one of five powder coat colours. This walkthrough covers the tools, the wall types (tile, drywall, plaster), and the order of steps for a level, secure install. A made-to-order METI ships in 3 to 5 weeks; in-stock sizes leave the workshop within 5 working days.
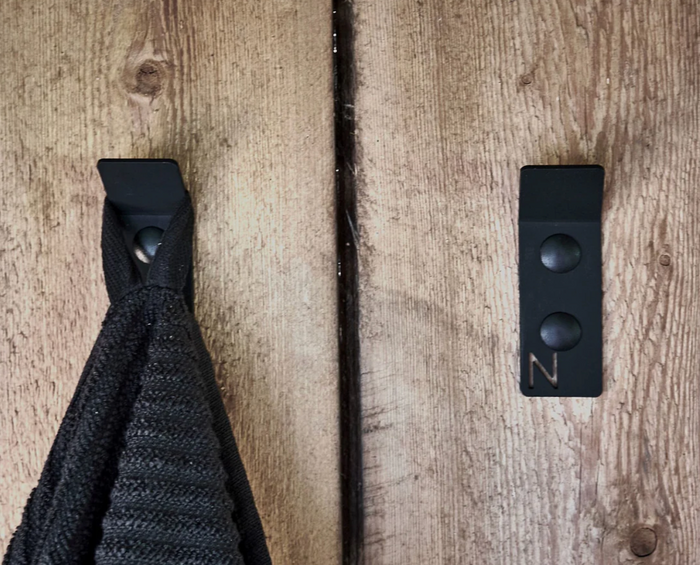
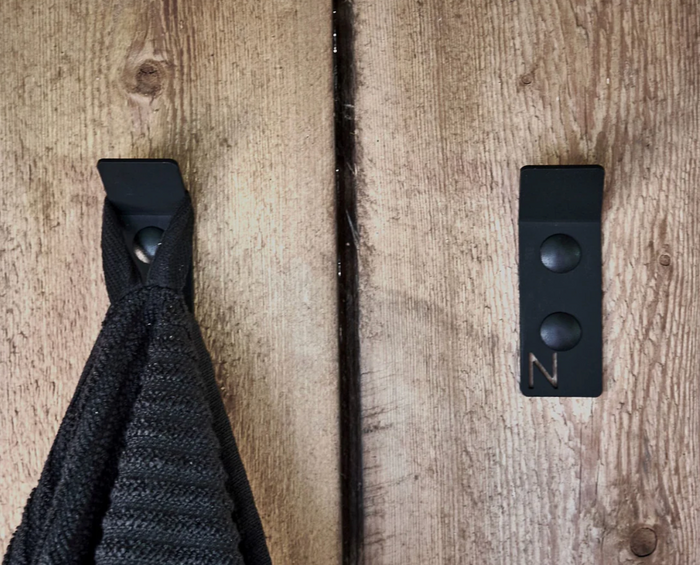
The METI Bathroom Shelf is a wall-mounted steel shelf, built to hold real weight, not a flimsy caddy. ATYP makes it from 3mm cold-rolled steel in our own workshop in Slovakia, phosphate pre-treated and finished in a powder coat 60 to 80 micrometres thick, cured to EN 12206-1. That construction outlasts most of the walls it hangs on. It also means installation matters more here than it does for a plastic shelf from a big-box store: get the anchor wrong, and the steel's own weight works against you. This walkthrough covers what you need before you drill, how to read your wall, tile, drywall, or plaster, and the order of steps that gets a METI shelf level and secure on the first attempt. The same logic applies to lighter bathroom hardware like the AIKI Wall Hook, though METI's shelf format needs a firmer anchor than a hook ever will.
What You Need Before You Start
Lay out everything before you mark the wall. You will need:
- A drill with an adjustable clutch or torque setting
- A bit matched to your wall: a tile bit for ceramic or porcelain, a masonry bit for plaster over brick, a standard bit for drywall into a stud
- A spirit level and a pencil
- A tape measure
- Anchors rated for your wall type if you are not landing on a stud
- A dust mask, tile dust is fine and gets everywhere
ATYP ships the METI Bathroom Shelf with its mounting bracket and fixings. You supply the bit, the level, and, where the wall calls for it, your own anchor.
Read the Wall Before You Drill
Every bathroom wall behaves differently once you put a drill to it. Know what is behind the surface before you commit to a hole.
Tile Walls
Avoid drilling the glazed face of the tile if you can help it. A pilot hole through the grout line is quieter on the bit and less likely to crack the tile. Use a dedicated tile or glass bit at low speed, let it bite gradually, and switch to a masonry bit once you are through the tile and into the substrate behind it. If that substrate is drywall or plaster over brick, treat it the same way you would treat that material once you reach it.
Drywall and Plaster
Studs sit at regular intervals in most stud-framed walls, and a stud finder or a careful tap test for the dull sound of solid framing will confirm where they run. Landing at least one fixing point on a stud gives the strongest hold for a shelf this size. Where no stud lines up with the bracket, use a toggle or sleeve anchor rated for the wall, and spread the load across every screw point on the bracket, not just the two end holes.
Step-by-Step: Mounting the METI Bathroom Shelf
Once you know your wall, the sequence for METI stays the same across the Small, Medium, and Large sizes.
- Mark the top edge of the bracket position and run a level line in pencil.
- Hold the bracket against the line and mark each fixing hole.
- Drill the pilot holes, tile bit first through tile, then the bit suited to the wall behind it.
- Insert anchors if you are not hitting a stud, tapped in gently, never hammered home.
- Screw the bracket to the wall, working from one side to the other, checking the level again before fully tightening.
- Fit the shelf tray to the bracket as instructed with your hardware.
- Load the shelf lightly for a day before loading it fully, bottles and jars first, nothing heavier.
A design visualization arrives for approval within the first 2 weeks of a made-to-order METI, so you know the bracket position and finish before the piece leaves the workshop.
Choosing Finish and Size Before You Order
The METI Bathroom Shelf comes in three sizes, Small, Medium, and Large, and in all five ATYP house finishes. Decide on both before you drill; the bracket position does not change once the holes are set.
| Finish | RAL | Surface |
|---|---|---|
| Chalk | RAL 9016 | matte |
| Linen | RAL 1019 | matte |
| Slate | RAL 7016 | structure |
| Umber | RAL 8022 | structure |
| Graphite | RAL 9005 | structure |
Any other RAL shade is available as a custom order, confirmed against a physical sample before coating. If you are furnishing the rest of the bathroom at the same time, the KANSO Towel Holder and the ELIORA Shower Shelf share the same five finishes, so the whole wall can match. Browse the full Bathroom Accessories collection, or configure yours directly on the Customization page.
How Thick Is the Steel in the METI Shelf?
3mm, cold-rolled, the same specification across every ATYP piece. The sheet goes through a phosphate pre-treatment before the powder coat is applied at 60 to 80 micrometres and cured to EN 12206-1. That is the full material specification ATYP publishes, no more, no less, because it is the only one we can stand behind with a two-year guarantee covering the coat against flaking, peeling, and colour fade, plus the welds and the structural steel. See the Production page for how a flat sheet becomes a finished shelf in our workshop, and read why ATYP builds everything from 3mm cold-rolled steel for the longer version.
Mistakes That Undo a Good Install
- Skipping the level, a shelf that is a few millimetres off is obvious from across the room.
- Driving a screw into tile without a pilot hole, the glaze cracks more often than it holds.
- Using a single centre screw instead of the full set of fixing points on the bracket.
- Loading the shelf fully the moment it is up, instead of checking it holds under light weight first.
- Mounting low enough over a toilet or sink that the shelf gets knocked every time someone stands up.
None of these are hard to avoid. They are just easy to skip when you are in a hurry to see the shelf on the wall. For a closer look at how mounting method changes the hold, see adhesive versus screw mounting, which holds more.
FAQ
Can I mount the METI Bathroom Shelf on a tiled wall?
Yes. Pre-drill through the grout line rather than the tile face when possible, use a tile-rated bit, and anchor into the wall behind the tile, ideally a stud. The steel shelf itself does not care what is on the wall. The anchor does.
Do I need to hit a wall stud to install METI?
A stud gives the strongest hold, but it is not mandatory everywhere on a METI installation. Where no stud lines up with your chosen position, use an anchor rated for your wall type and spread the fixing points across the full bracket, not just one screw.
What tools do I need before I start?
A drill with adjustable clutch, the correct bit for your wall (tile, masonry, or wood), a spirit level, a pencil, a tape measure, and the anchors suited to drywall, plaster, or tile. ATYP ships the bracket hardware with the shelf.
How long will I wait for a METI Bathroom Shelf before I can install it?
A made-to-order METI takes 3 to 5 weeks, with a design visualization sent for approval within the first 2 weeks. In-stock standard pieces ship within 5 working days.
Can I install METI without drilling into the wall?
No. METI is a shelf, not a hook, and ATYP builds it to be screwed into the wall rather than taped. Lighter bathroom pieces like the AIKI Wall Hook offer a tape option; METI does not.
ATYP is a Slovak design studio making custom metal furniture in its own workshop in Slovakia. Every piece is configured to order, hand-finished, and backed by our two-year guarantee.
Written by ATYP for ATYP, custom metal furniture made in Slovakia.
Design your own